GIMP is a fantastic free, open-source image-manipulation software.
The program has long had the reputation of being difficult to use and beginner-unfriendly. This is in large part to its historically utilitarian (and frankly ugly) GUI.
As of writing, the most recent stable release is version 2.10.38. Much thought has clearly been put into updating the UI. However, this was not the case when I learned how to use the program. I first encountered GIMP around version 2.7.1. It was a lot uglier back then, but I was a kid with no money or concept of piracy, so GIMP was all I had.
GIMP 2.7.1 - I'm nostalgic for the way it looks.
After all these years of GIMP being one of the first things I install on a new computer, and dare I say even a friend to me, I want to share what I've learned to help other people get into using this wonderful program. That's why I'm writing this tutorial.
1.1 The Goals of This Tutorial
Together, we're going to create a cool work of art by exploring many of GIMP's main functions, such as:
Importing and exporting files
Selection tools
Colour adjustments
Filters
and Brushes
In doing so, you will become comfortable with navigating the UI and (hopefully) feel empowered to keep exploring the program and using it to meet your graphical needs.
Ready? Let's go!
Preparing Your Image
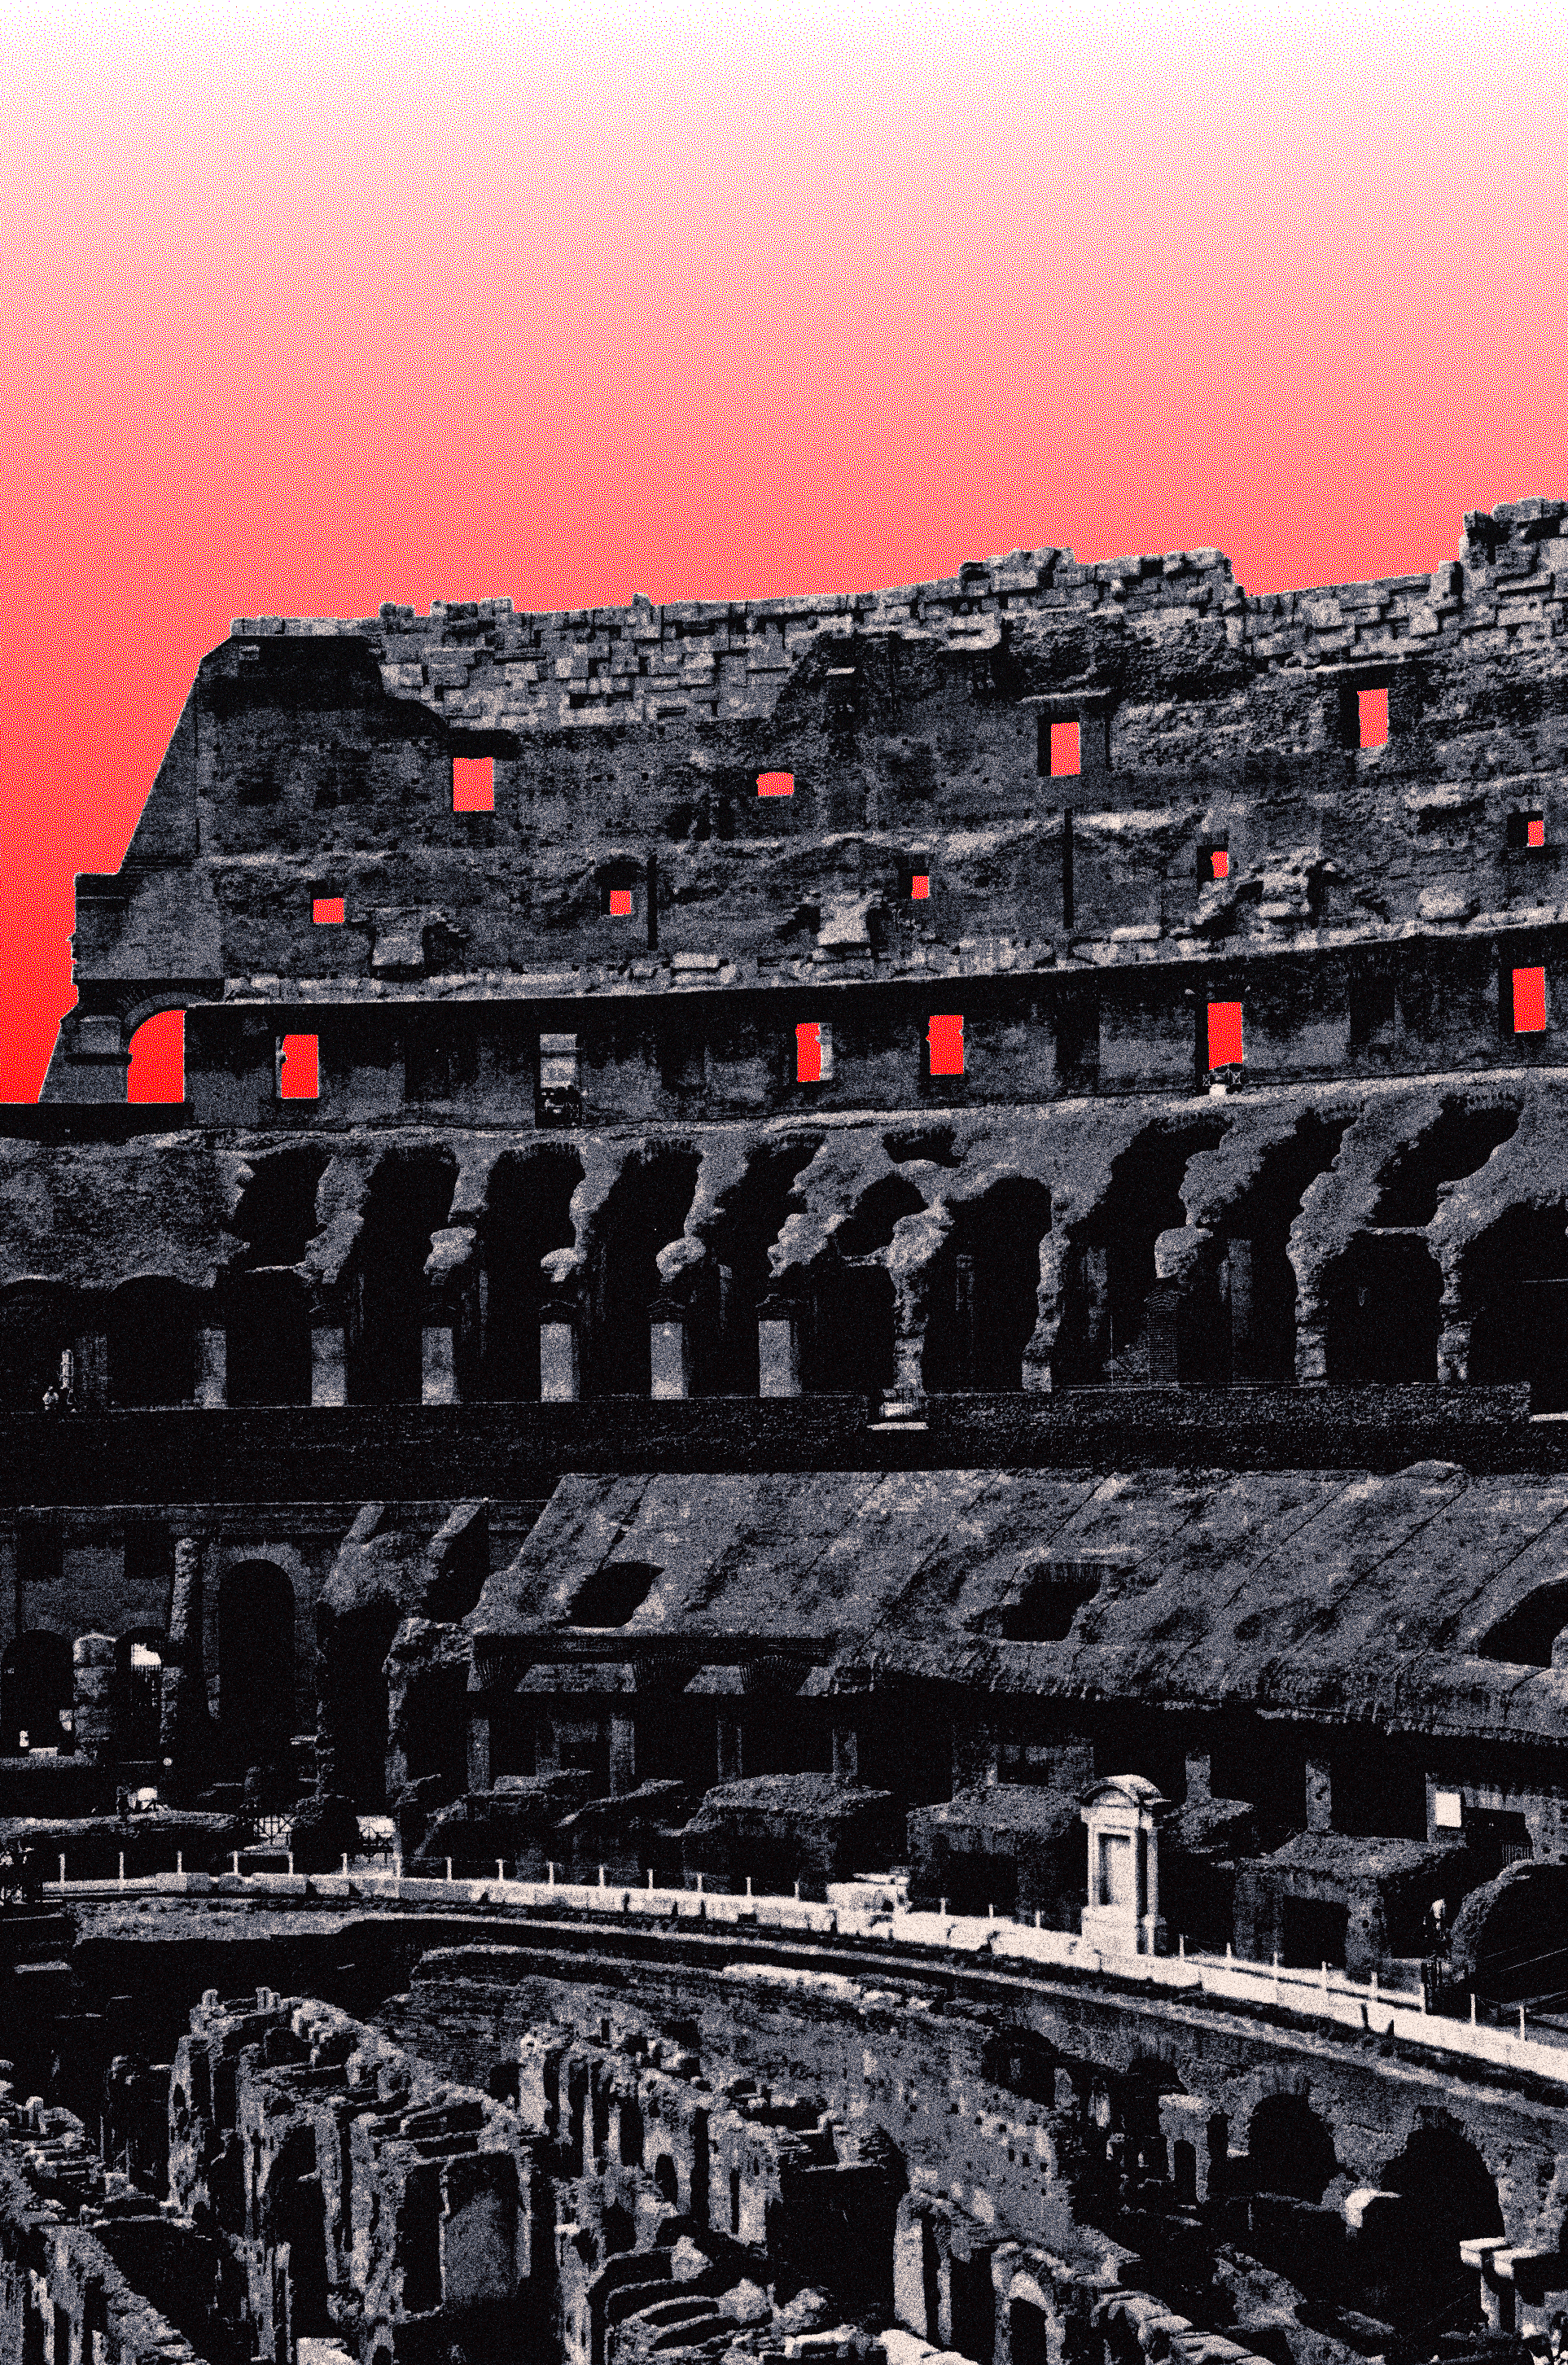
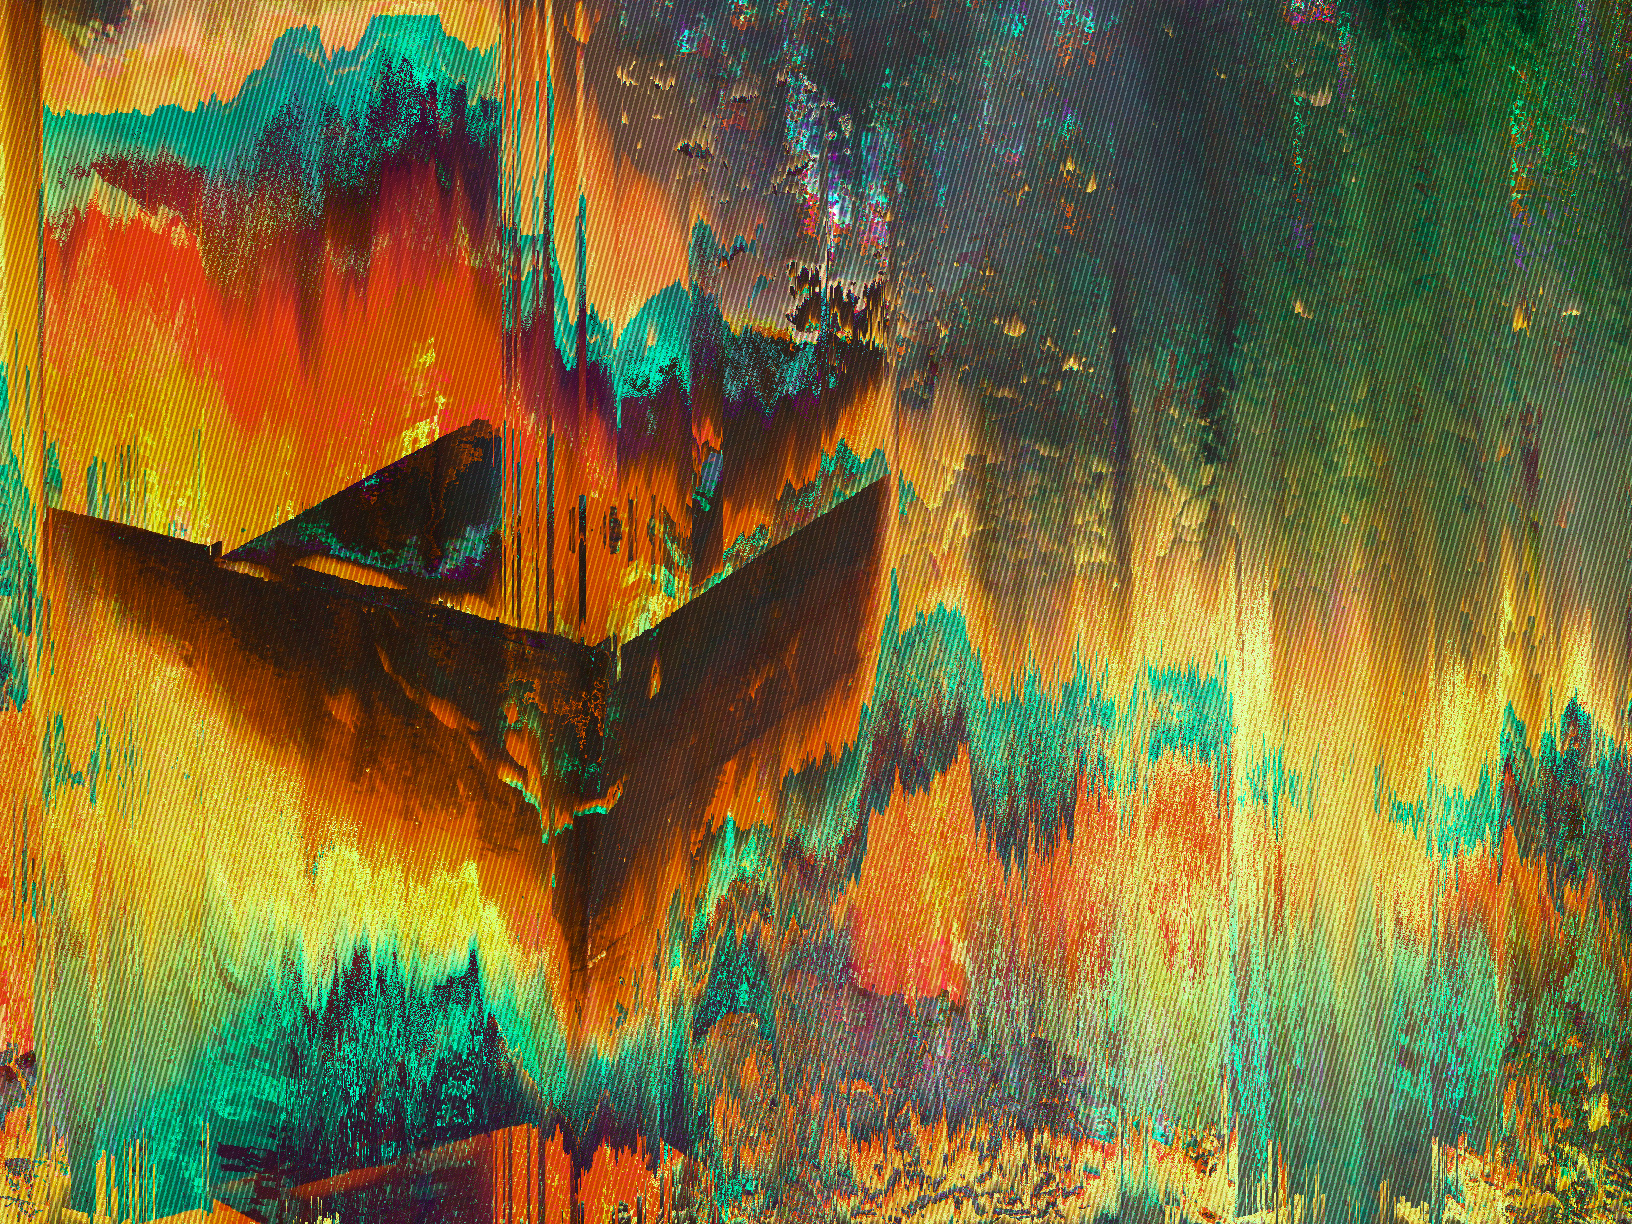
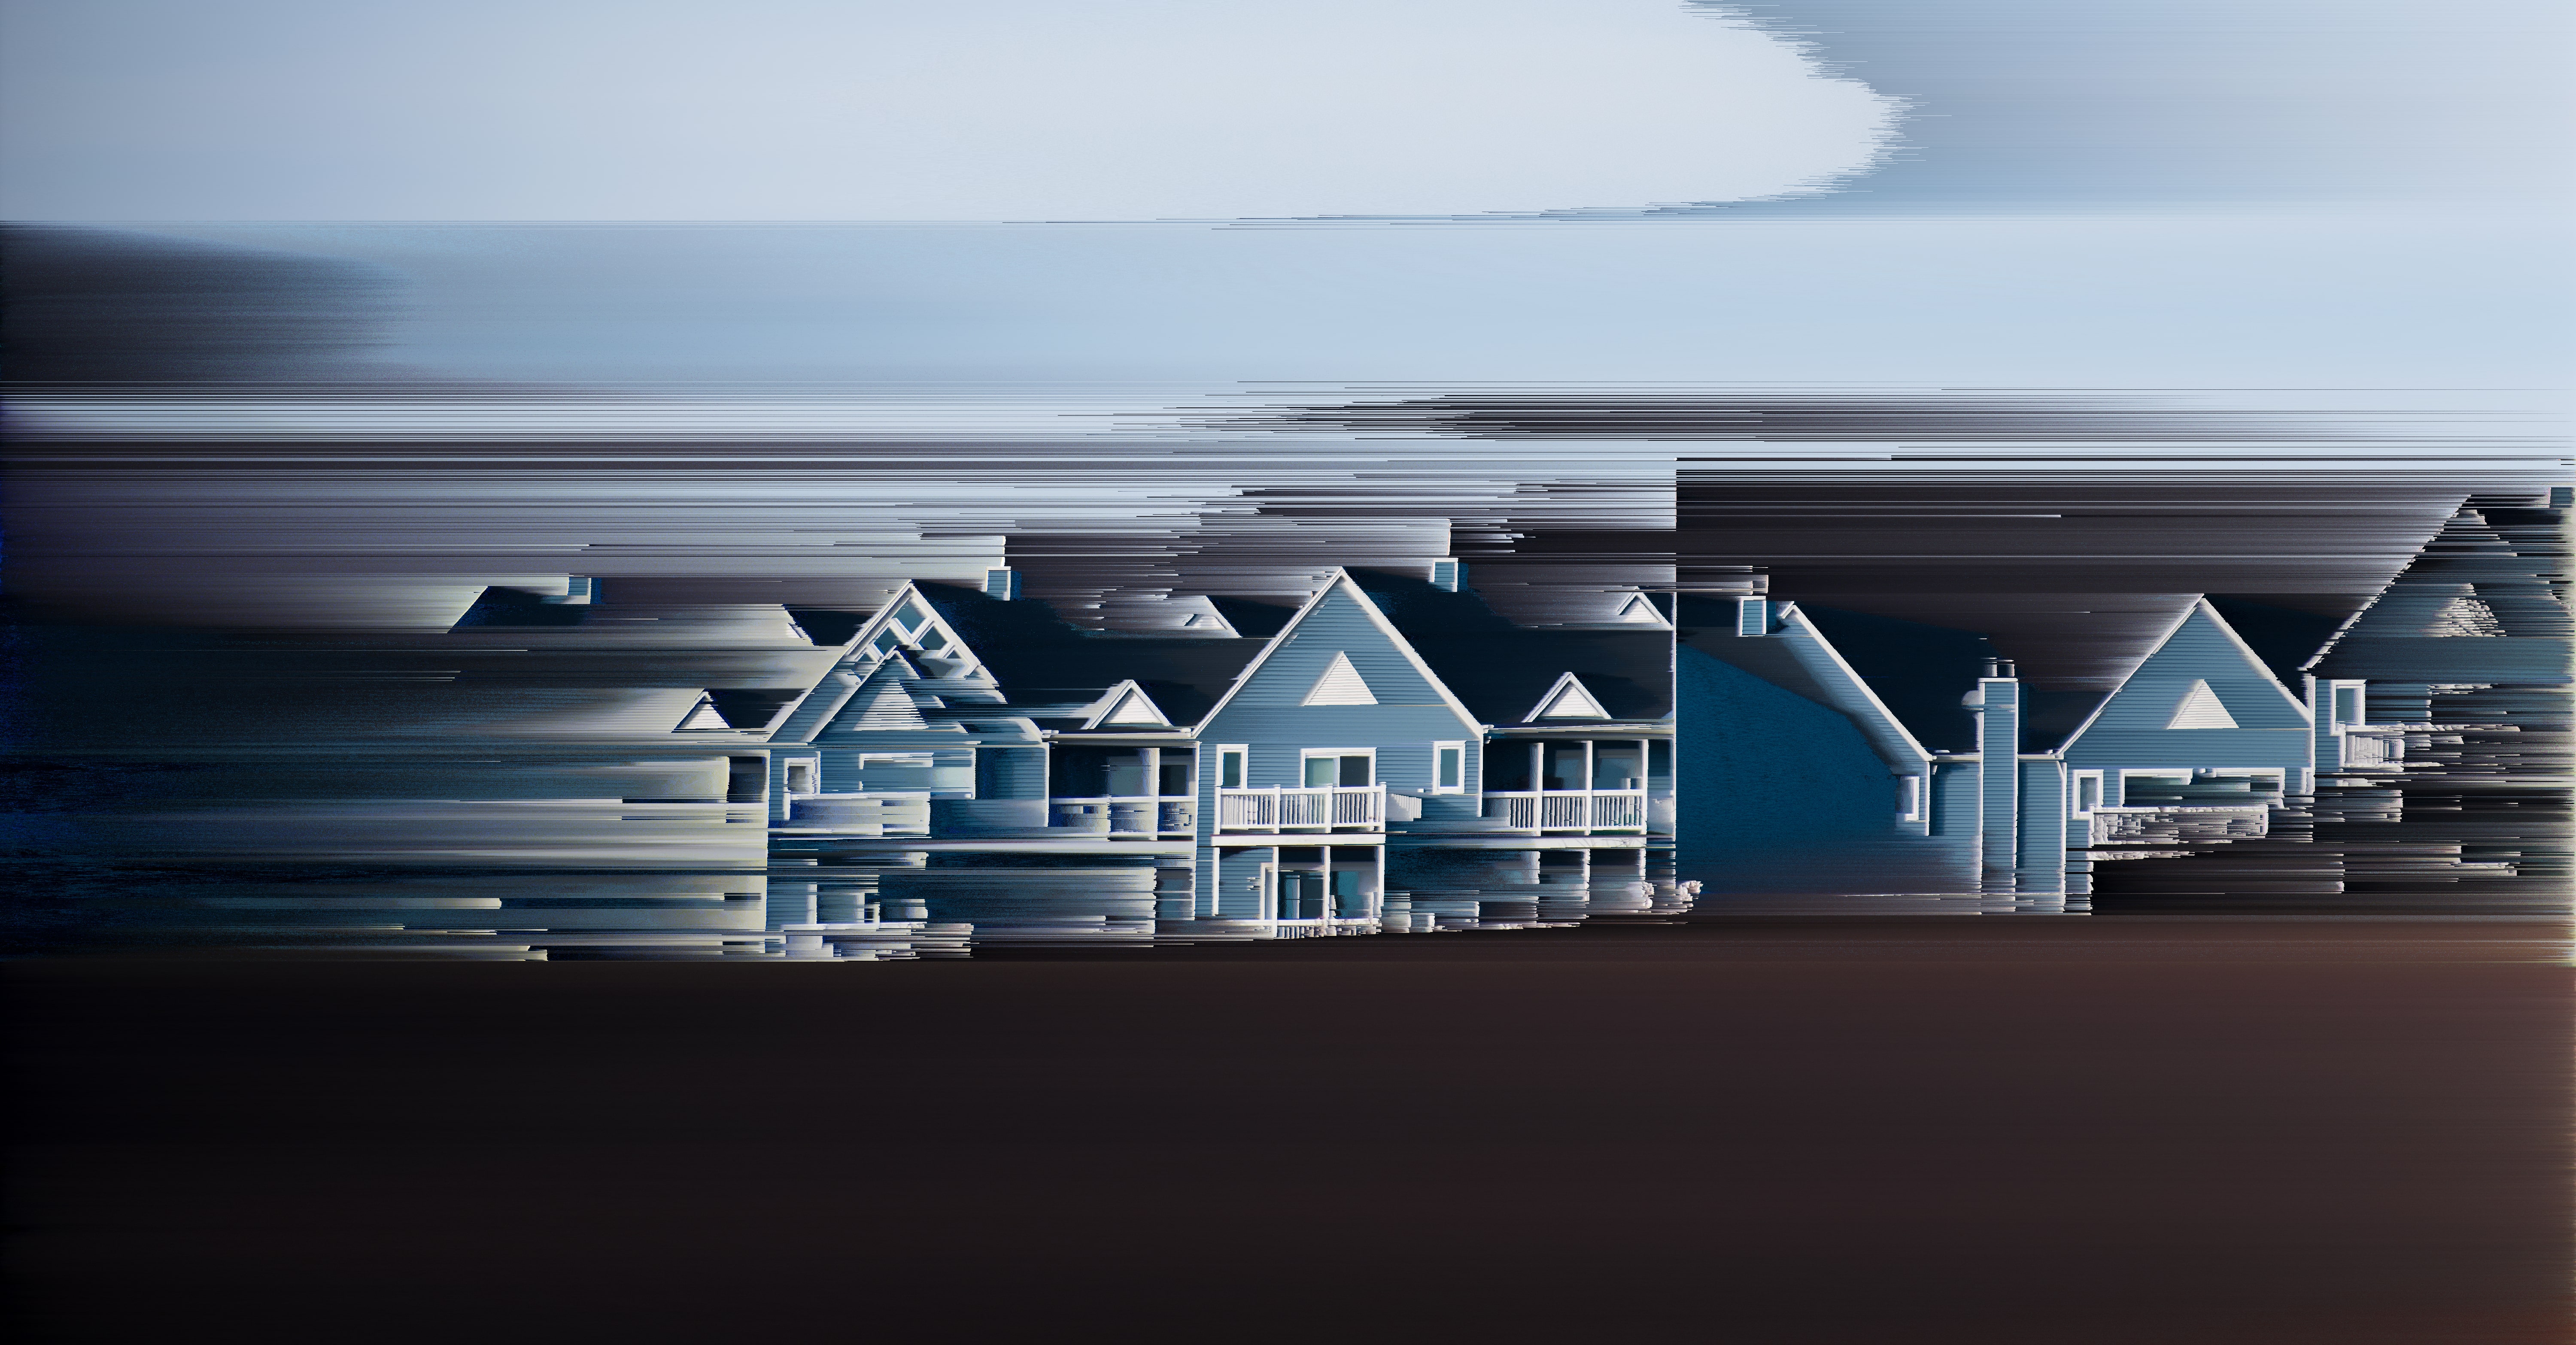
For the purposes of this tutorial, I am going to walk you through how to make a image similar to the one below:
To do this, we are going to remix and stylize the information from a preexisting image. So, naturally, you are going to need an image to start with. I am using this image from the royalty-free stock photos website Pexels. You can follow along with the same image, or choose another that catches your eye.
There are alternative websites to Pexels out there, but beware of sites such as Pixabay that allow AI-generated content, as you cannot verify that the materials used in the creation of the image are royalty or copyright-free.
Once you have found and downloaded an image to use, it's time to import it into GIMP. Fortunately, this is exceedingly easy to do. All you have to do is drag-and-drop the image into the window.
Alternatively, you can use the import dialogue window by navigating to the top left of the screen and selecting File -> Open... From here, navigate to where you saved your image, and double-click it to open it.
Depending on the metadata of your image, you may be asked whether to convert or keep the embedded colour profile. This decision doesn't really matter for our purposes, but I'm going to click Keep anyways.
2.1 The Basic Layout
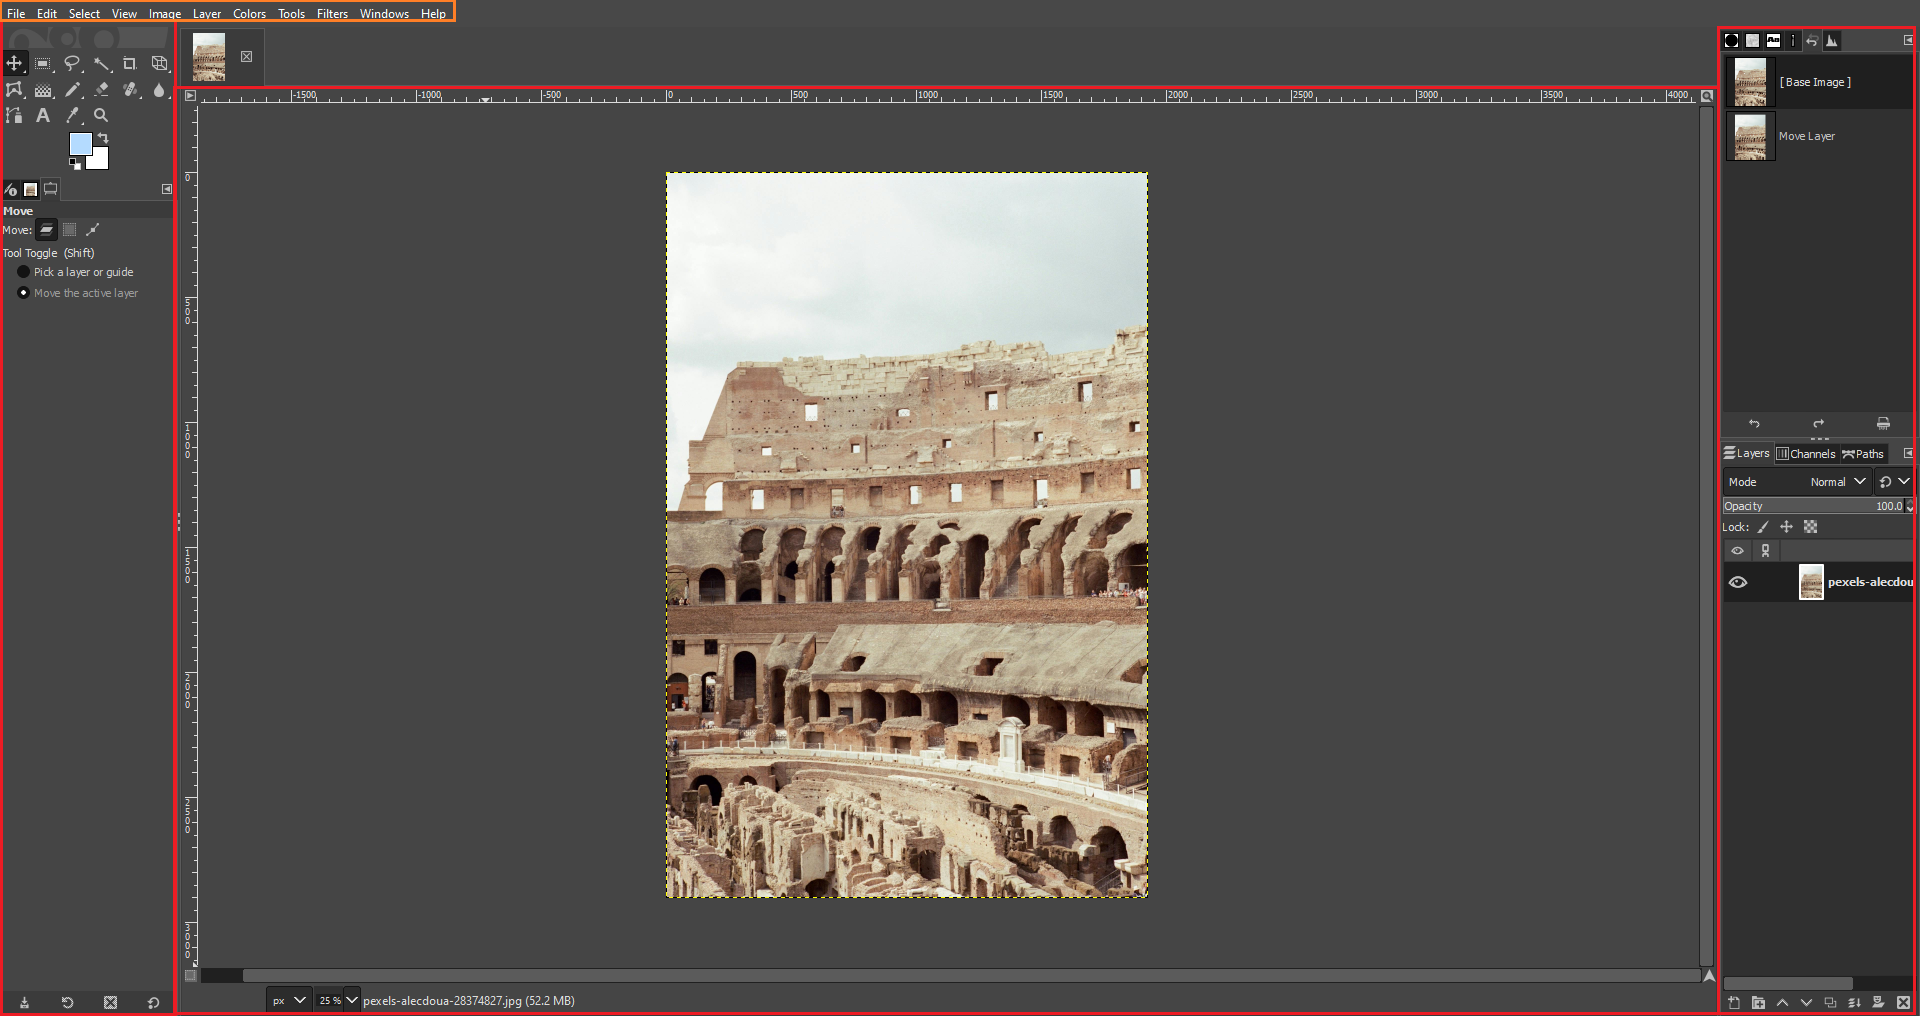
GIMP's workspace is made up of "docks" or sections that group functions and tools together. It is modular and customizable, but can appear intimidating or overwhelming at first. Fear not, I've broken it up into three main parts, outlined here in red:
From left-to-right, we have the Tools dock, the Image dock, and the Tabs dock. These are not necessarily their actual names or groupings, but this is how I will refer to them here for the sake of simplicity.
You will notice that I have also grouped the menu items in the top bar together (outlined in orange). This is because, although not in a dock, many of these menu items lead to more dialogue windows that contain functions and features that cannot be accessed anywhere else, and will be instrumental to our usage of GIMP.
You will also notice that the Tools and Tabs docks are split into two sections.
The Tools dock is split between a menu of all general-use tools, including the likes of selectors, brushes, and transform tools, and the associated options for each tool. Try clicking on different tools at the top of this dock, and seeing how the lower half changes. Brush tools will contain options for radius size, hardness, opacity, etc., while selectors such as the Fuzzy Select tool will contain options for selection thresholds. Right-clicking a tool will generally bring up a sub-menu of other tools that function in a similar way (i.e., right-clicking the Fuzzy Select tool will bring up the option to equip the Select by Colour tool).
On the other hand, the Tabs dock is split between two distinct tab windows, each with their own options of what tab to view. Different tabs will be helpful with different types of projects, but don't worry about them too much. For now, I reccomend switching the top tab to your Undo History, and your bottom tab to your Layers.
Selecting Parts of the Image
3.0 Alpha Channels and Transparency
I want to remove the sky from my image. When I downloaded my image, it was a ".JPG" which is a file type that does not contain an alpha channel, and therefore contains no transparency. If we start erasing parts of our image, it will look as if we're painting in sections of whatever colour our background colour is set to in GIMP. This is not ideal, so we must create an alpha channel on the same layer as the image in order to work with transparency, which will make our lives easier in future steps.
To create an alpha channel, navigate to your Layers dock and right-click the layer that contains your image. This will bring up a menu with a whole host of options, but we only want to click on Add Alpha Channel. Now when you erase, the background will appear as a grey checkered pattern. This is GIMP's way of representing transparency.
3.1 The Selection Tools
There are a number of tools at our disposal in our task of removing the sky.
By far, the easiest way to select a portion of your image is to use selection tools that work based on an algorithm, such as the Fuzzy Select and Select by Color tools. However, these tools are imperfect, and may require careful fiddling with their threshold sliders, or may just not work that well at all. Unfortunately, in my case, neither of these tools are useful as many parts of my image I do not want to select are too similar in hue and lightness to the sky.
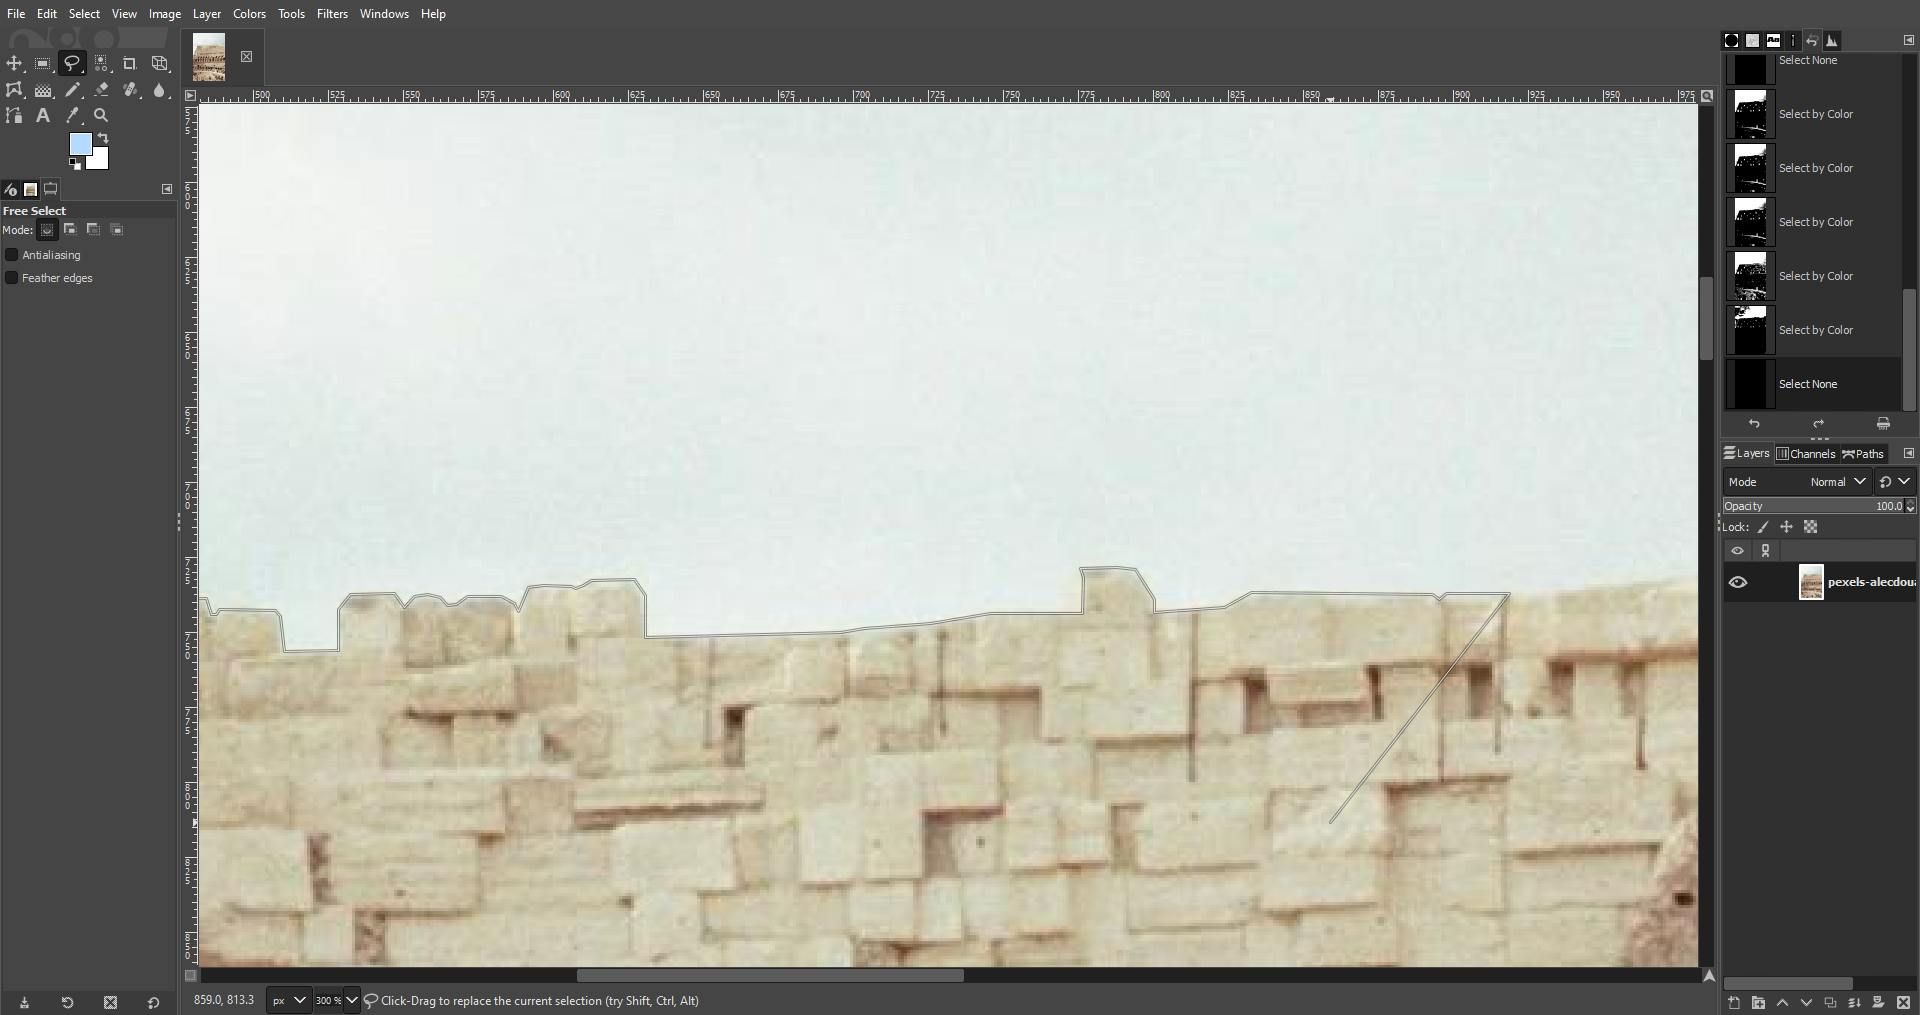
Instead, I will opt for the superior but far more tedious option of the Free Select tool. To use this tool, all you have to do is click along the outline of the shape you want to cut out. The selection is only created when the two ends of the selection path are joined.
While using the tool, you can hold shift to snap the path along a perfect horizonal or vertical axis, which can be helpful when selecting large geometic shapes.
If you have a steady hand, you can hold down the left mouse button as you move the mouse to create an organic path.
If you make a mistake, you can adjust the path by clicking and dragging one of the circles that appear along the path.
For the purposes of accuracy, you may want to zoom into the image. I find the easiest way to do this is to hold CTRL and scroll the mouse wheel. Note that the viewport will zoom in wherever your cursor is in the Image dock.
Once you have finished deleting parts of your image, you are free to put whatever you like back there, be it a colour, a gradient, or another image. In some cases, you might also want to leave it transparent. For now, we won't add anything in the background, and come back to it later.
Adjusting the Colours
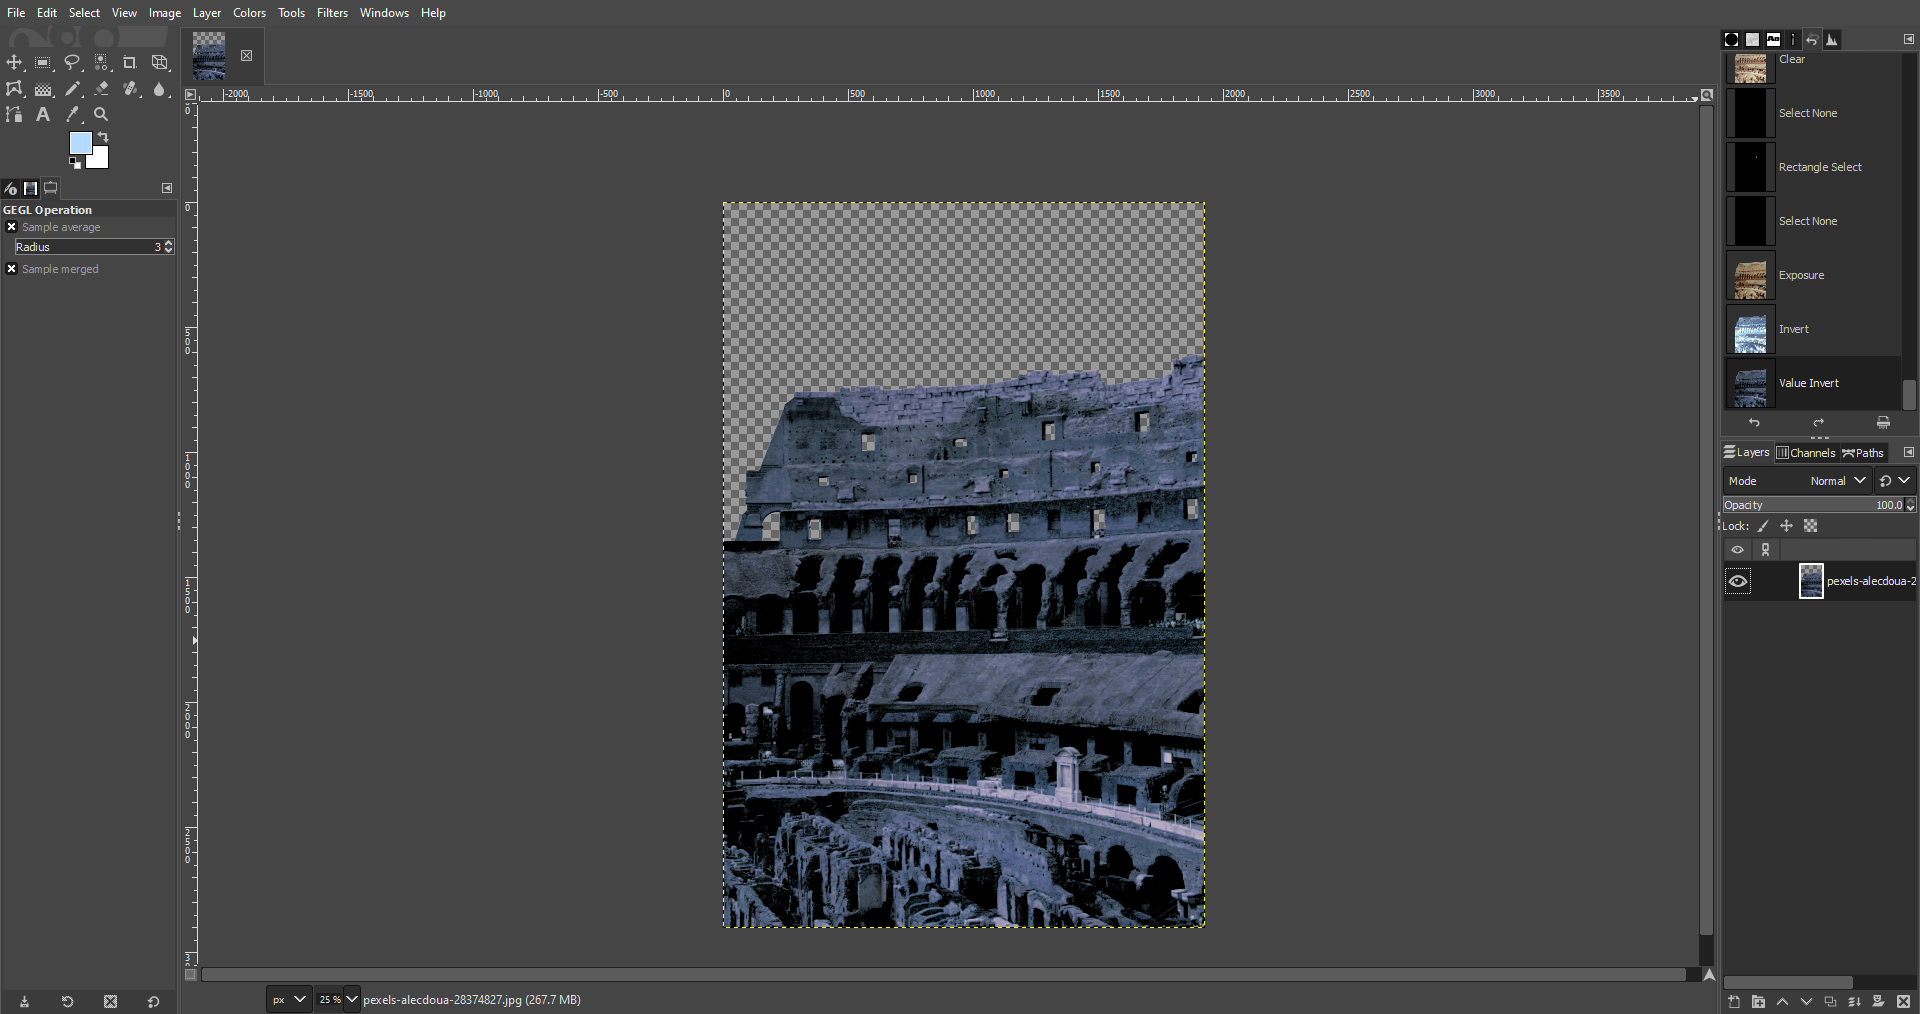
For this image, I want to change the colour-grading to stylize it and make it my own. In order to do this, we will be working within the various dialogue windows that we can access from the Colors section of the top menu. I reccomend clicking on each option here and dragging around the bars in each dialogue window to see what they do. If you don't like the effect, you can always click Cancel or hit CTRL-Z to undo it.
I am going to alter my image by clicking on Colors -> Exposure, increasing the blackpoint and decreasing the exposure, then inverting my image with Colors -> Invert and Colors -> Value Invert.
I now have something that already looks pretty neat:
Drawing with Brushes
Now that I have altered the colours of my image, some details stick out that I don't want. Namely, I want to remove the crowd of tourists on the right side of the image. Because they are mostly against a solid-colour background, this can be done almost exclusively with a simple brush tool.
Select the Paintbrush from the Tools dock and ensure that your Active Foreground Colour is set to the colour you want to draw with. You can choose to click on the coloured square in the Tools dock and use the colour selection dialogue window to change the colour, or you can use the Colour Picker tool below the Paintbrush to select the colour right from your image.
Since I am working with a perfect black background, the method I choose doesn't matter.
Adjust the size of your paintbrush in the Tool Options dialogue window below, then carefully paint out the unwanted details.
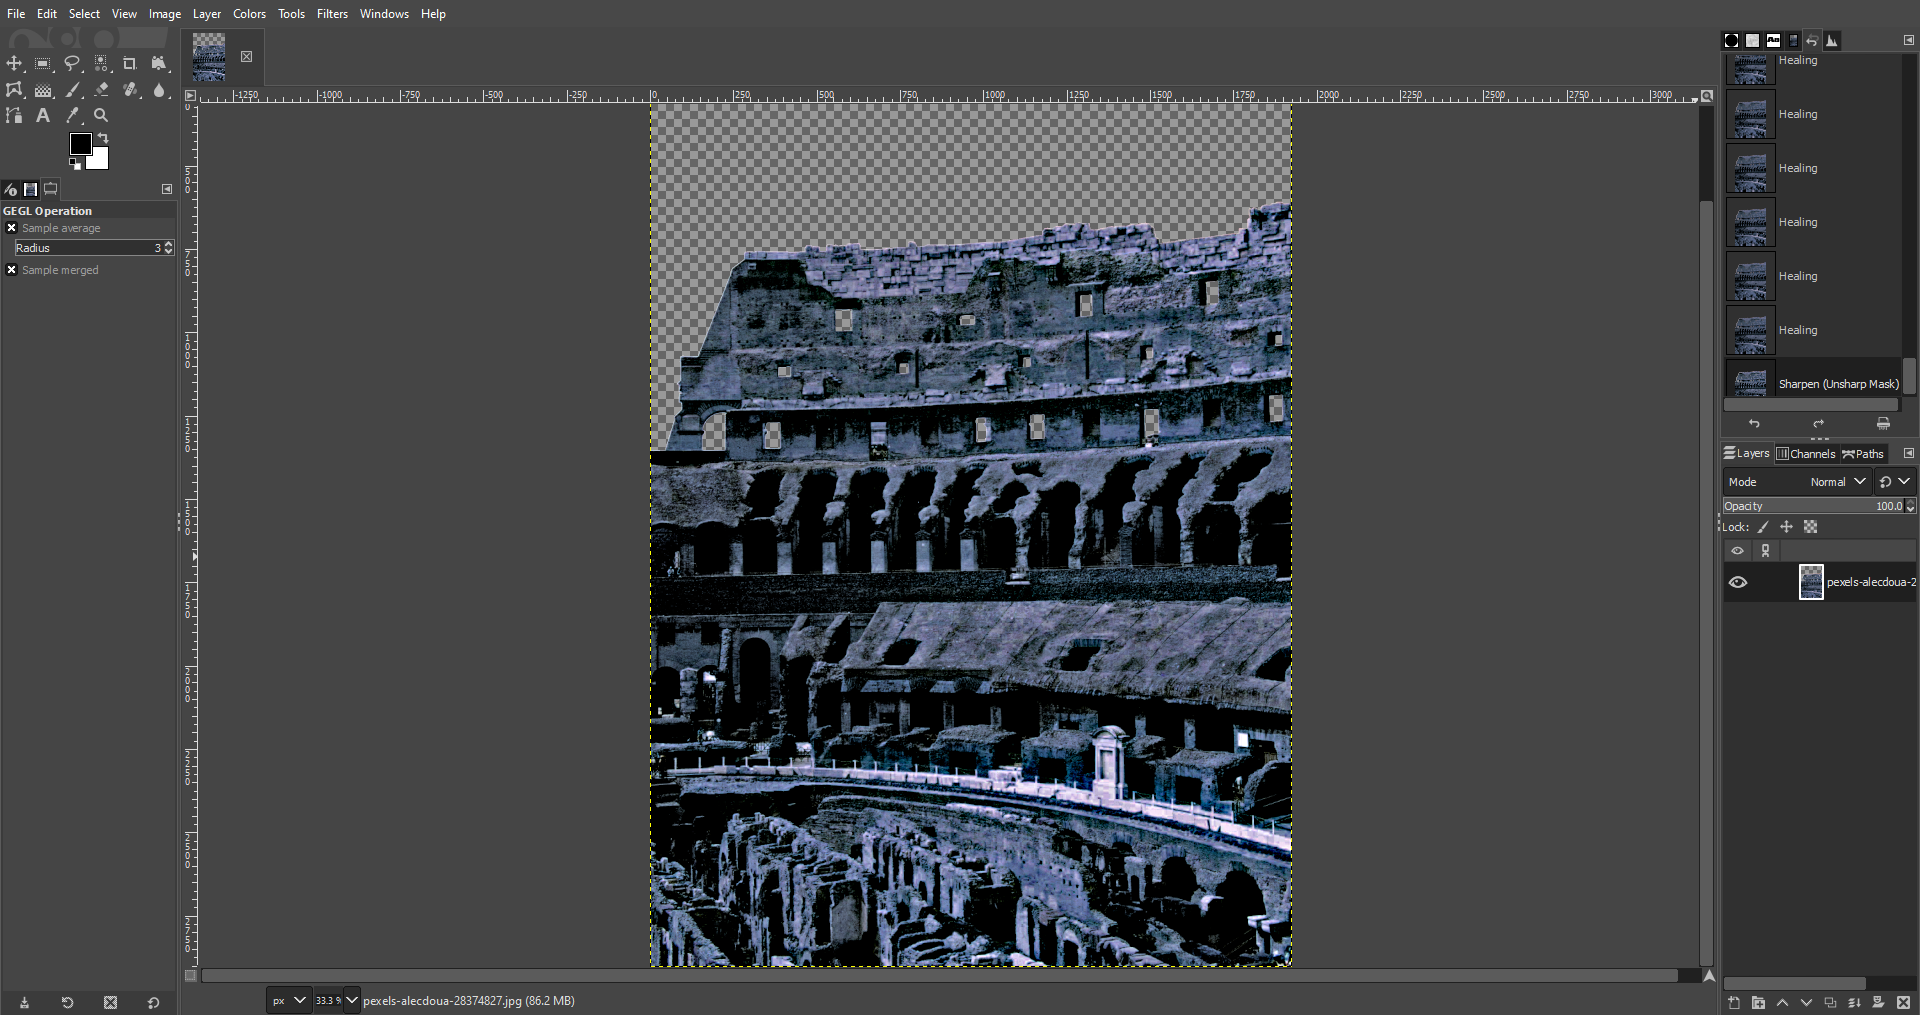
5.1 Restoring Complex Backgrounds
It is not unusual to come across a part of an image where the unwanted detail exists in front of a background that is more complicated than a solid colour. In these cases, we want to make use of the Healing and Clone tools. I personally prefer the Healing tool, as I find the default blending function and feathered edges of the brush feel more natural. However, the strong presence and sharp edges of the Clone tool have their uses also.
In either case, hold CTRL and left-click on a part of the image you want the brush to replicate. GIMP will create a circle selection where you click. From there, use the brush as you would the Paintbrush, and carefully cover-up the unwanted detail.
With that, the crowd of pesky tourists is gone, and almost without a trace.
Distorting with Filters
One of my favourite parts of editing photos in GIMP is applying filters.
Akin to the Colours menu previously, the best way to learn about filters in GIMP is to experiment with them. Almost all filters can be accessed through the Filters menu and sub-menus within.
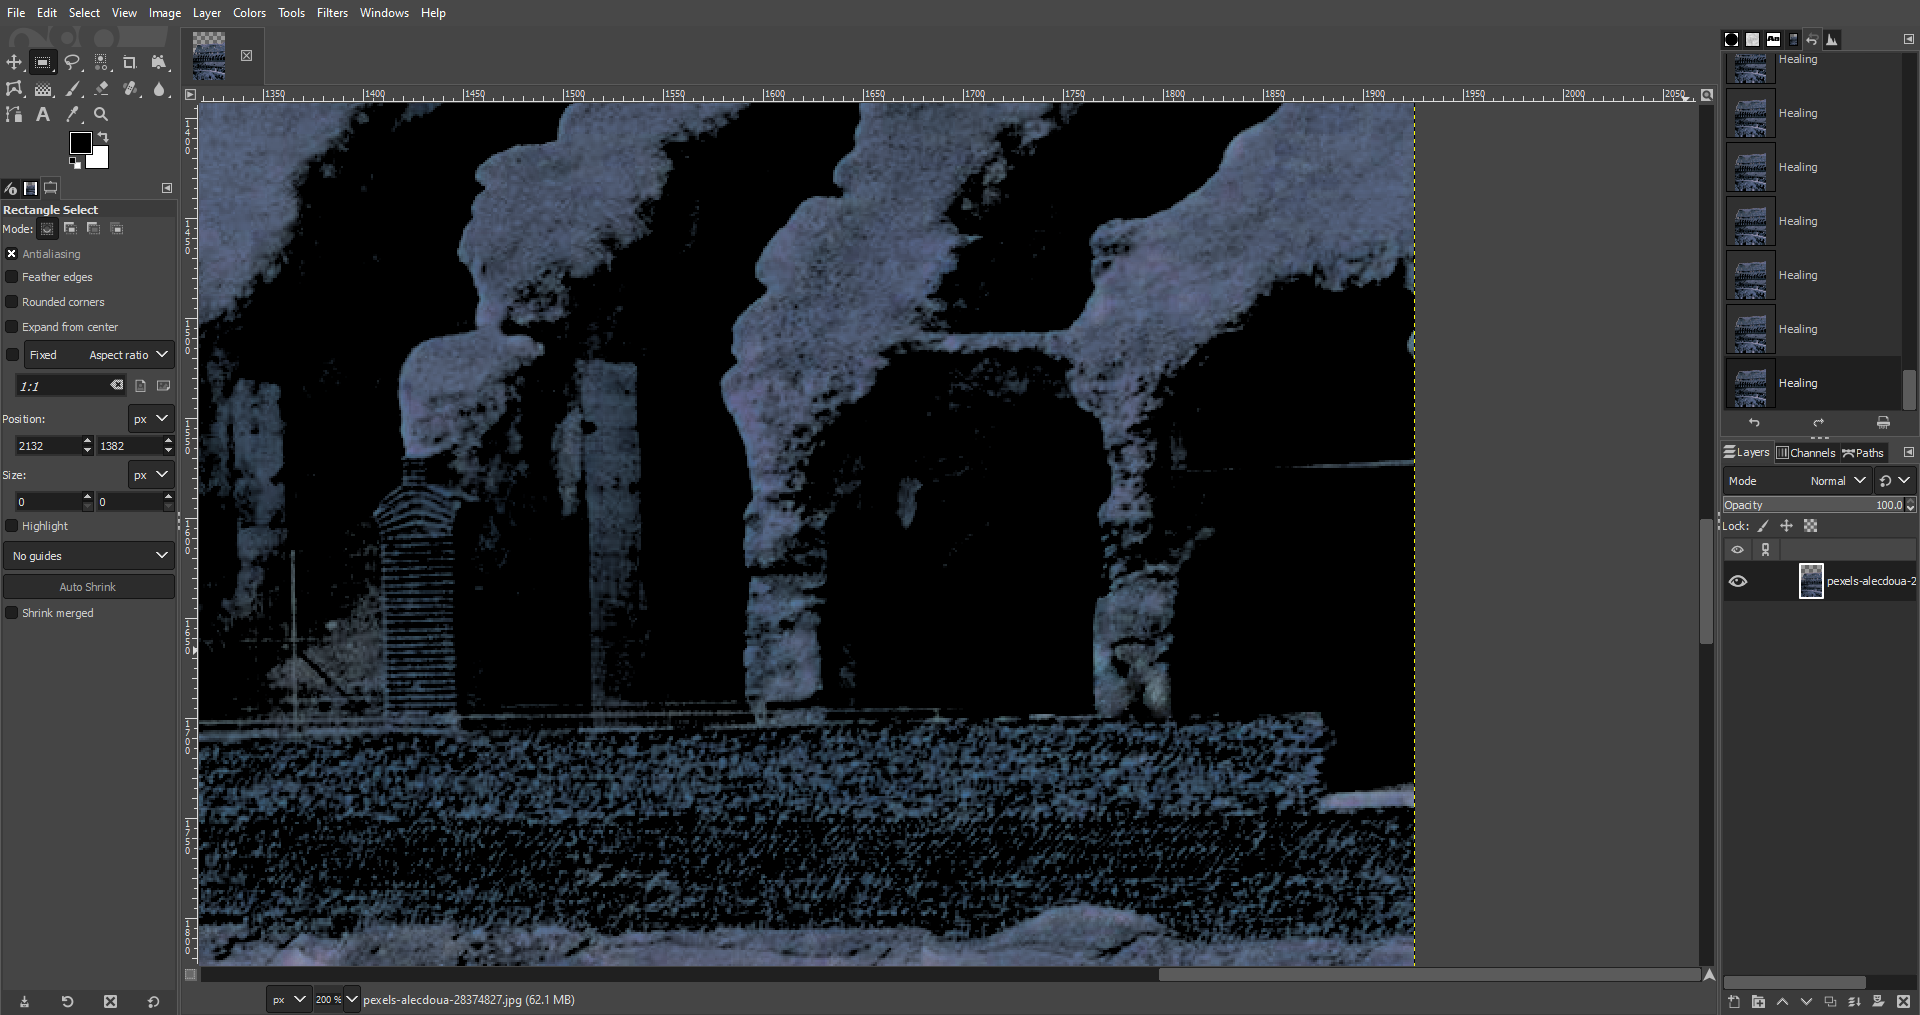
I am going to start by applying a sharpening filter to the image, which can be found under Filters -> Enhance -> Sharpen (Unsharp Mask)... Like most filters, clicking this option will bring up a dialogue window wherein you can adjust the specific settings of the filter to your liking.
For this image, I will increase the radius and amount of the sharpening filter while keeping the threshold low. This leaves me with a high-contrast image and vibrant JPG artifacting.
6.1 Miscellaneous Filters
There are a small handful of filters that are not found under the Filters menu. At the bottom of the Colours menu, you can find filters such as Threshold, Colourize, and Posterize, among others.
For this tutorial, let's simplify our image by applying the Posterize filter, which will reduce the number of colours used in the image. I found 6 levels looked best, but the number will vary based on the image being edited and personal taste.
6.2 A Word on G'MIC
One of the best plugins for GIMP out there is G'MIC, an addon that bundles hundreds of new filters together from multiple contributors. If you like playing around with filters as much as I do, then don't hesitate to give it a try.
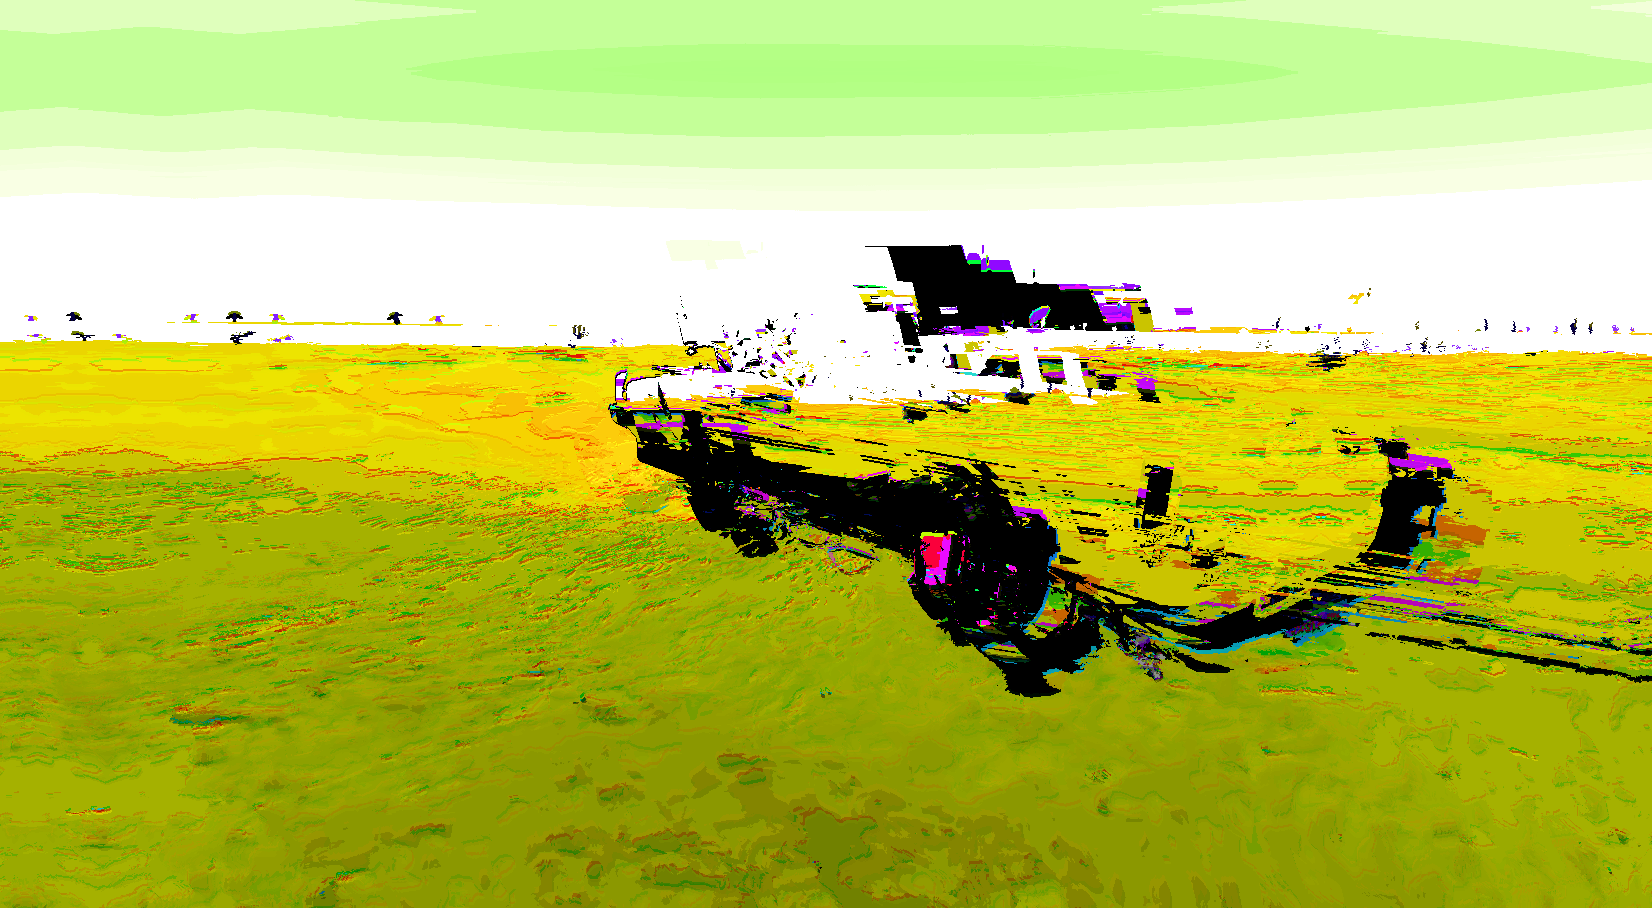
I applied the Retro Fade filter from G'MIC to the image twice, as some filter effects can stack.
Final Touches
To finish the image, it needs a background. I am going to apply a gradient.
Start by creating a new layer underneath the first one. Navigate to the Layers tab on the right, and click the Create a new layer icon at the bottom. The properties of this layer don't matter, so long as it's filled with transparency.
Click and hold the left mouse button on this new layer, then drag and release it below the first layer.
In your Tools dock, right-click on the Bucket Fill tool and select the Gradient tool.
Click on the Foreground Colour square and change the colour to whatever you want, then do the same for the Background Colour square. I changed my foreground colour to red, and left the background as white.
In your Tool Options dock below, click on the gradient preview box, then select FG to BG (RGB).
Click and drag from the top of your image to the bottom. You can hold CTRL while you drag to snap the gradient path along the vertical axis.
After releasing the left mouse button, you can drag around either end of the gradient path, as well as the centerpoint to adjust the effect. The gradient will not be finalized until you hit ENTER.
Like the main image, you can edit this background layer however you like. I decided to apply the Dithering filter from the Colours menu.
And just like that, you're done! To export your image, use File -> Export... or File -> Export As... and save it where you like.
Conclusion
I hope you found this tutorial helpful in getting started with GIMP.
The features and functions covered here are, of course, only scratching the surface of GIMP's full potential. I encourage you to check out the official documentation to continue learning about what the software has to offer.
Alternatively, you can always just start clicking on stuff.